Homemade Peanut Butter Cup Ice Cream No-Churn
A simple and creamy homemade ice cream, filled with peanut butter cups and love.
Peanut Butter Cup Ice Cream is the perfect treat for a warm day, especially when it’s homemade, creamy, and packed with soft swirls of peanut butter and rich chunks of chocolate. This No-Churn Ice Cream Recipe is as easy as it is delicious!
With just a few simple ingredients, you can make a homemade ice cream that tastes like a peanut butter and chocolate dream.
It’s the perfect easy summer dessert for busy days, slow weekends, or sweet family gatherings.
If you love cozy, simple treats that fill your kitchen with joy (and your freezer with goodness), this Homemade Peanut Butter Cup Ice Cream is one you’ll make again and again.
Let’s dive in.
Peanut Butter Cup Ice Cream Recipe
Key Ingredients
Heavy Whipping Cream:
Gives the ice cream its rich, creamy texture without needing an ice cream maker.
Sweetened Condensed Milk:
Adds sweetness and helps create a smooth, scoopable consistency.
Vanilla Extract:
Brings warmth and rounds out the chocolate and peanut butter flavors.
Mini Peanut Butter Cups:
The star of the show — soft, melty bites of peanut butter and chocolate in every scoop.
Chocolate-Covered Peanuts:
Adds a little crunch and a deep chocolate flavor throughout the ice cream.
Fudge Sauce + Caramel Sauce:
Swirled through the base for extra ribbons of gooey, sweet goodness.
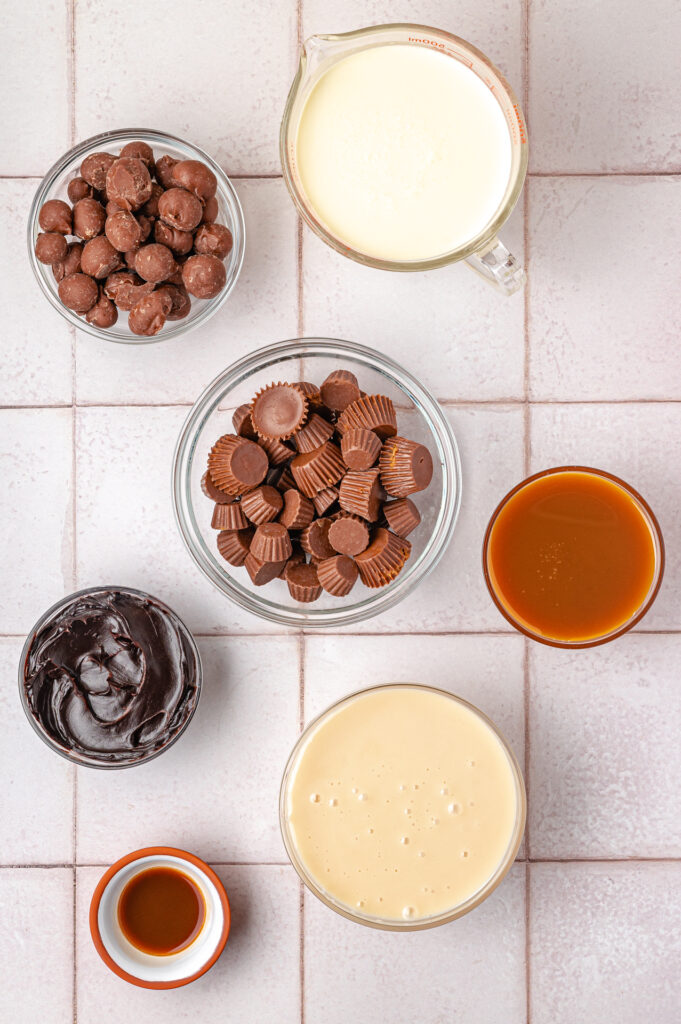
Ingredients
For the Ice Cream Base:
2 cups heavy whipping cream
1 can sweetened condensed milk (14oz)
2 teaspoons vanilla extract
Mix-Ins:
¾ cup chocolate-covered peanuts
¾ cup mini peanut butter cups or chopped peanut butter cups
For the Swirls:
½ cup fudge sauce, divided
½ cup caramel sauce, divided
How to Make No-Churn Peanut Butter Cup Ice Cream
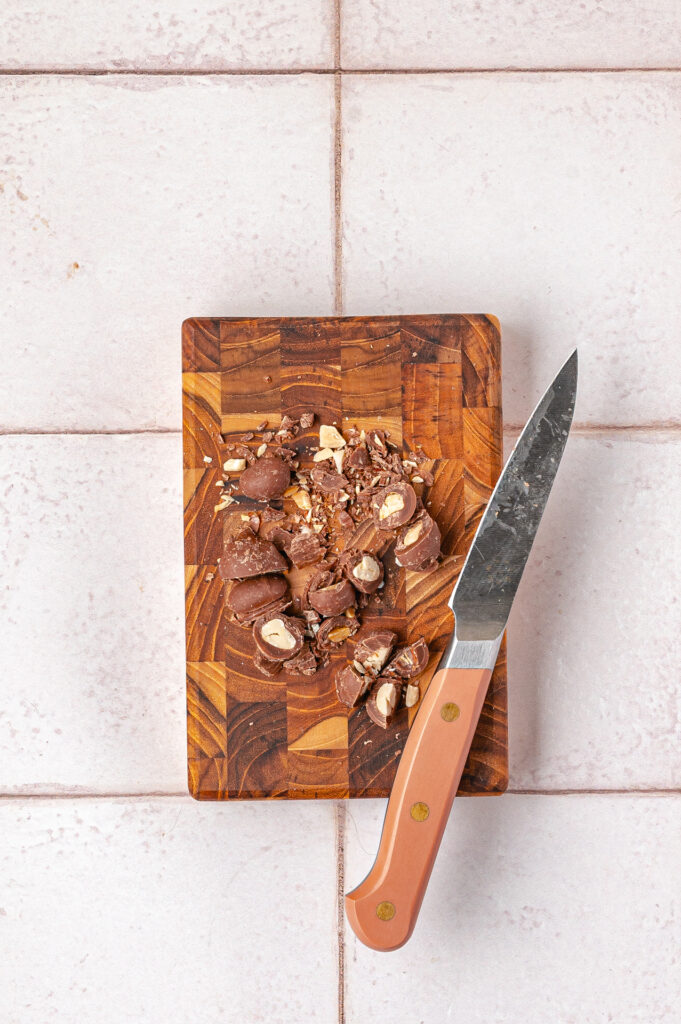
- Break up some of the chocolate-covered peanuts into smaller pieces, leaving some whole for texture variety. If using large peanut butter cups, chop them into smaller chunks.
- Pour heavy whipping cream into a large mixing bowl. Use an electric mixer to whip the cream on medium-high speed until stiff peaks form, about 3-5 minutes. Be careful not to over-whip the cream into butter.
- Pour the sweetened condensed milk and the vanilla extract directly into the whipped cream.
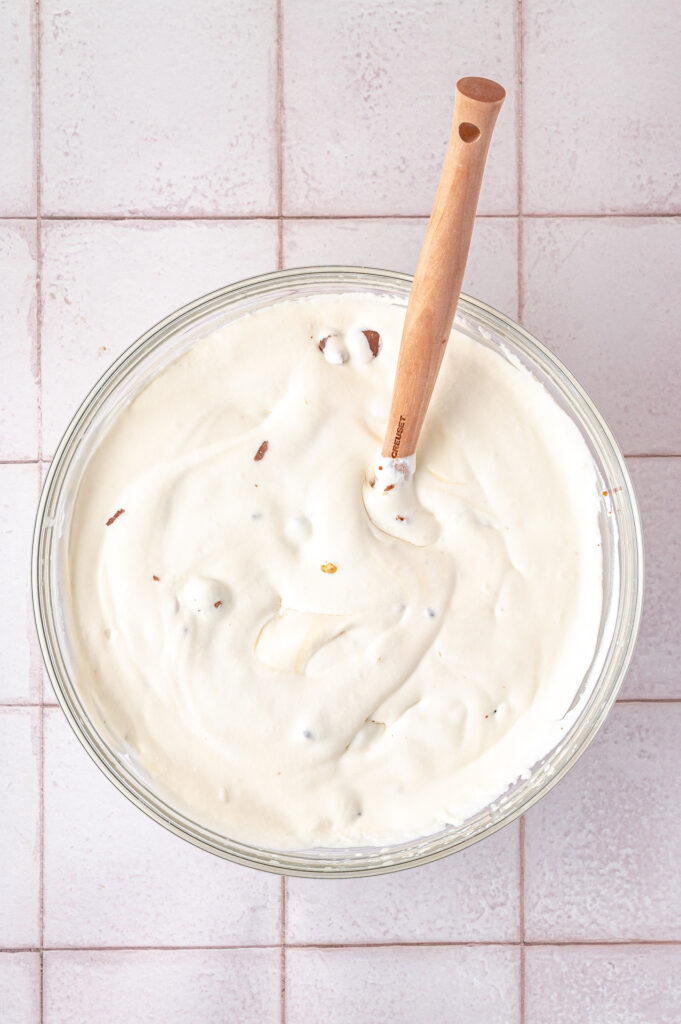
- Gently fold everything together using a spatula until fully incorporated.

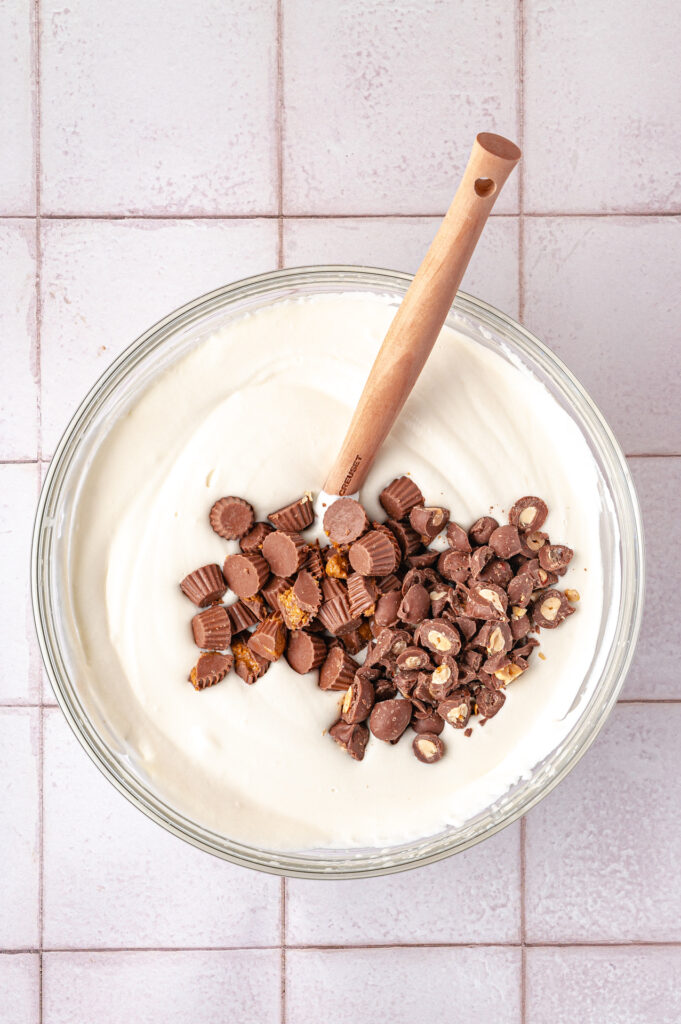
- Reserve a handful of chocolate-covered peanuts and peanut butter cups for the topping. Fold the remaining chocolate-covered peanuts (both whole and broken pieces) and peanut butter cups into the ice cream base.
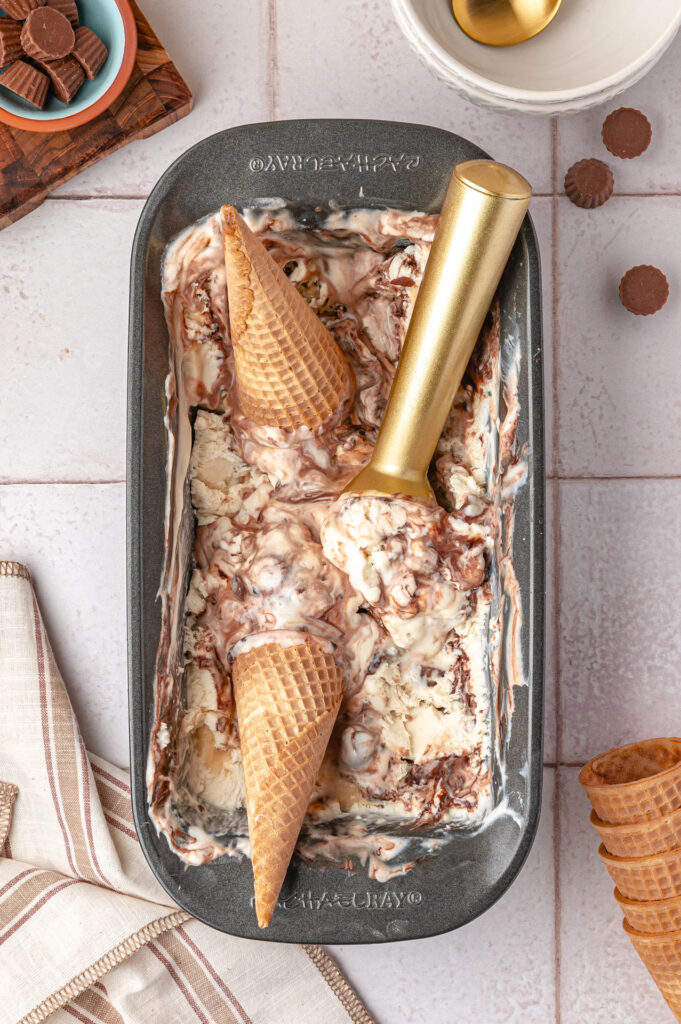
- Pour half of the mixture into a 9×5 inch loaf pan or another freezer-safe container
- Drizzle 1/4 cup of fudge sauce and 1/4 cup of caramel sauce evenly over this layer. Use a butter knife or skewer to gently swirl the sauces into the ice cream.
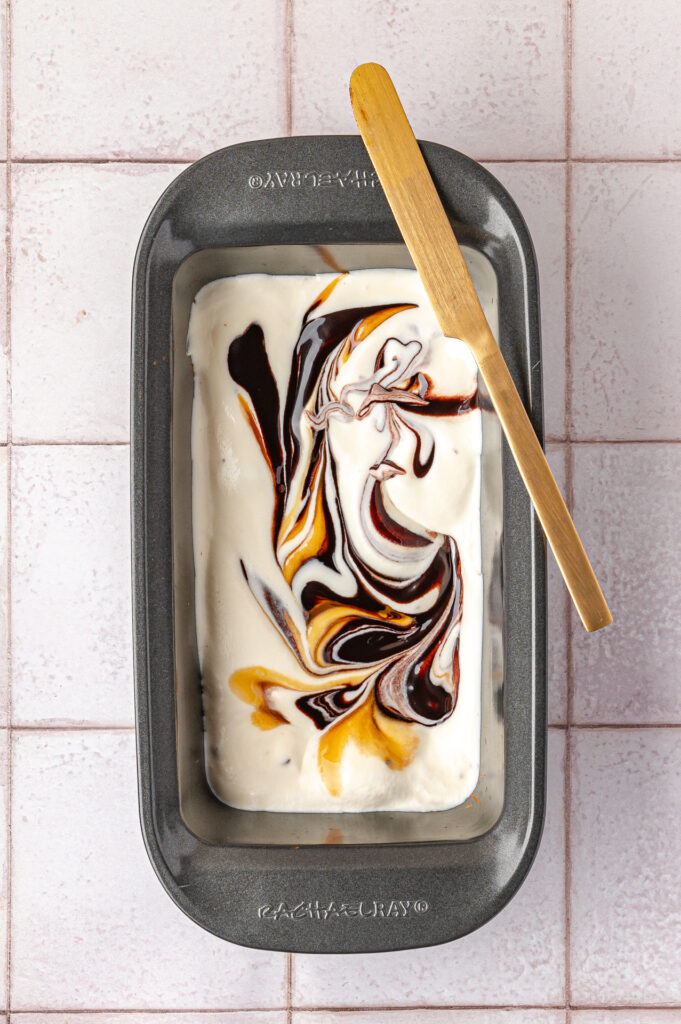
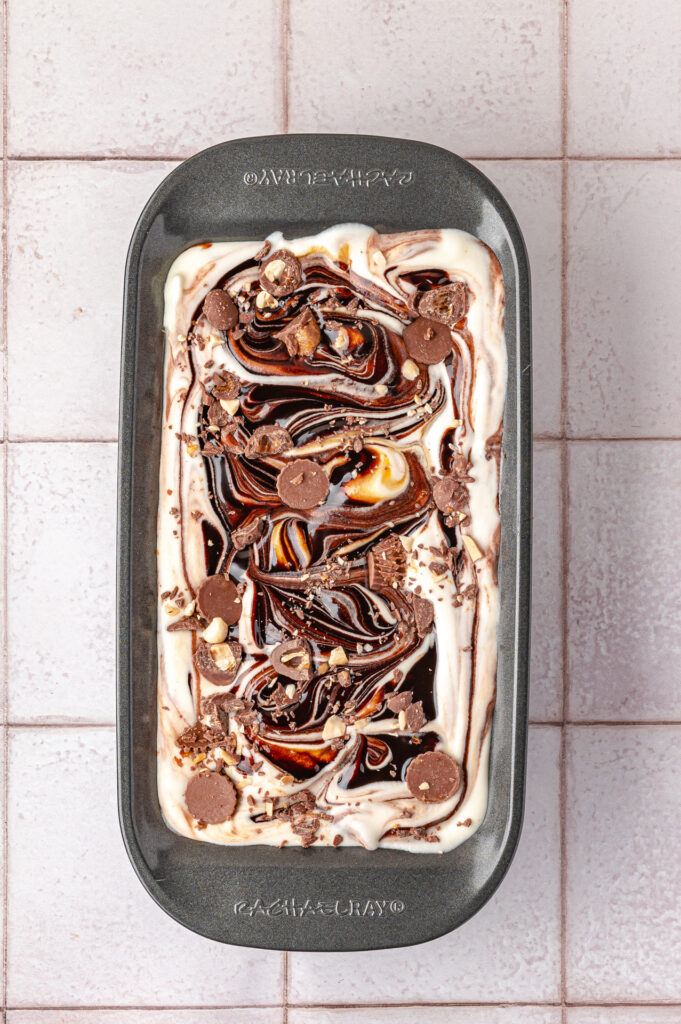
- Pour the remaining ice cream mixture on top. Drizzle the final 1/4 cup of fudge sauce and 1/4 cup of caramel sauce over the top layer. Swirl the sauces to create a marbled effect.
- Sprinkle the reserved chocolate-covered peanuts and peanut butter cups over the top layer.
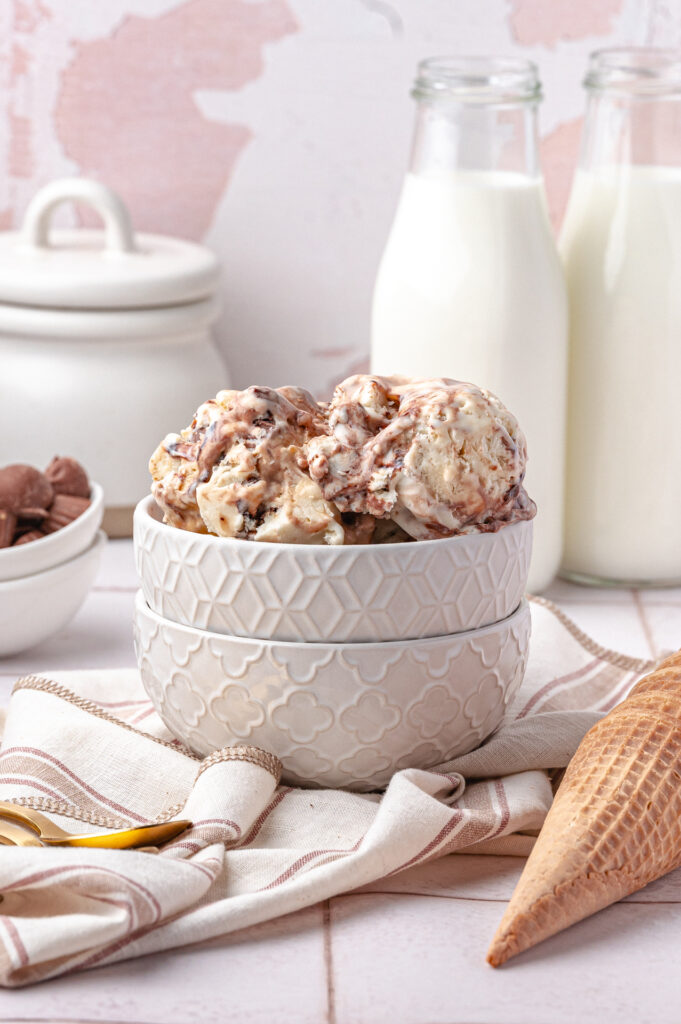
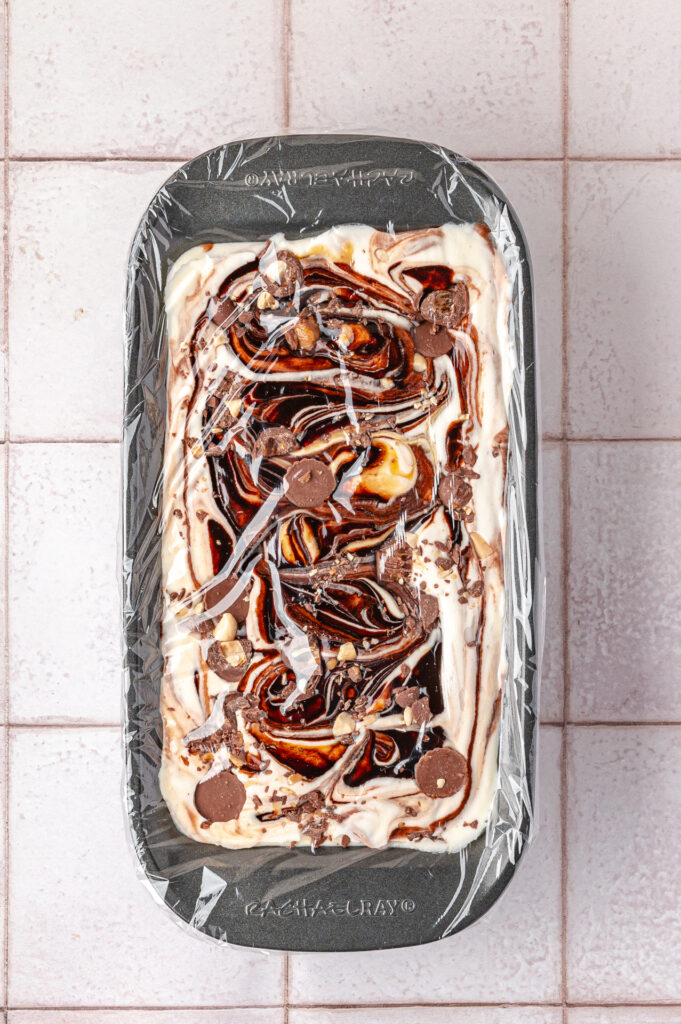
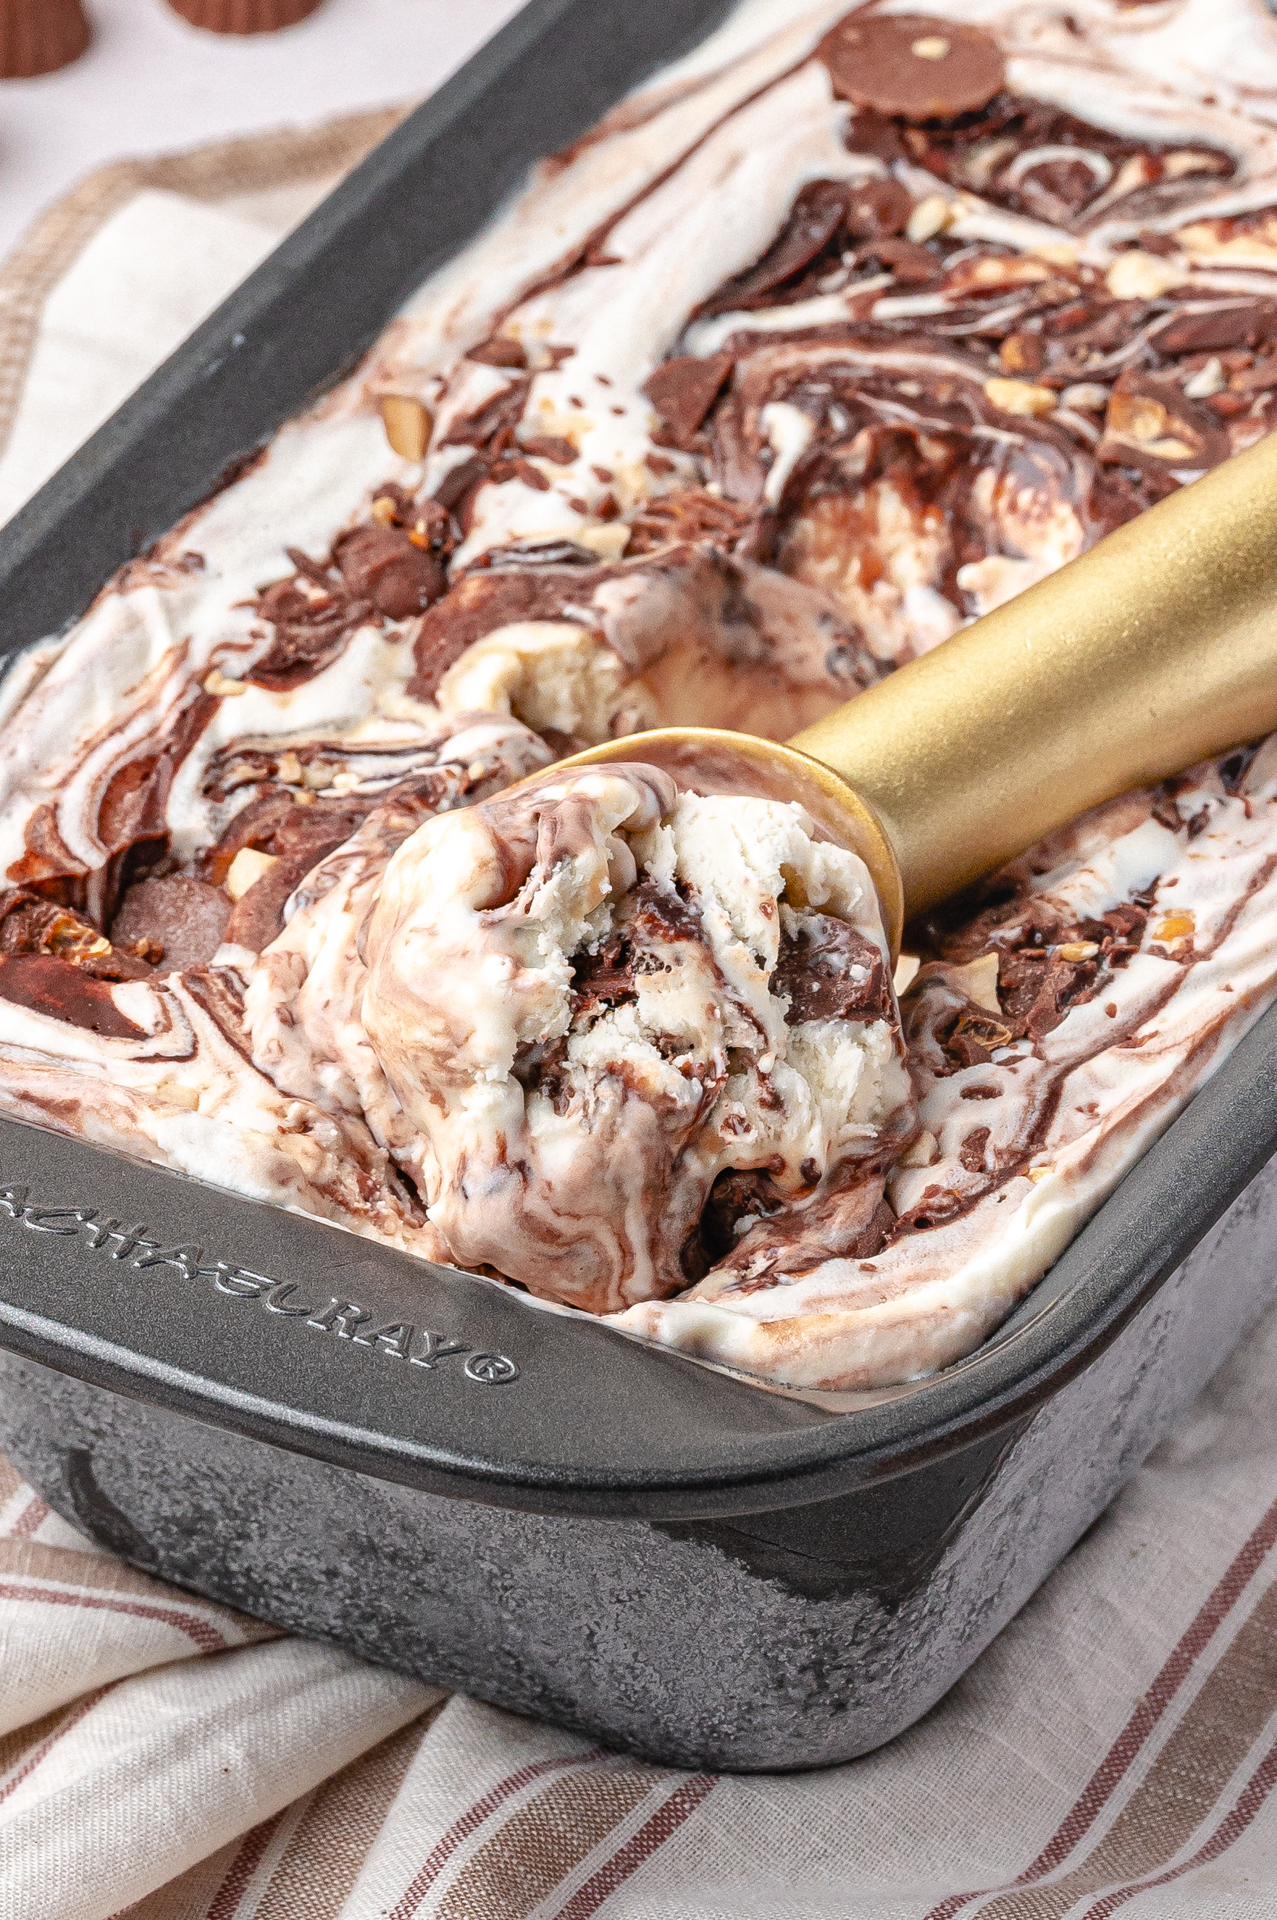
- Cover the pan tightly with plastic wrap. Place it in the freezer for at least 6 hours, preferably overnight, until the ice cream is firm. Serve in bowls or ice cream cones.
Top tip
Feel free to adjust the quantities of mix-ins or substitute with your favorite candies and nuts.
Drizzle additional fudge or caramel sauce over each serving and top with sprinkles, cherries and whipped cream for an indulgent sundae.
Q: Can I use different candy in this ice cream?
A: Absolutely! This no churn ice cream base is very flexible. You can swap the peanut butter cups for chopped chocolate bars, cookies, or even caramel bites.
Storage
Keep the ice cream tightly covered in the freezer for 2-3 month
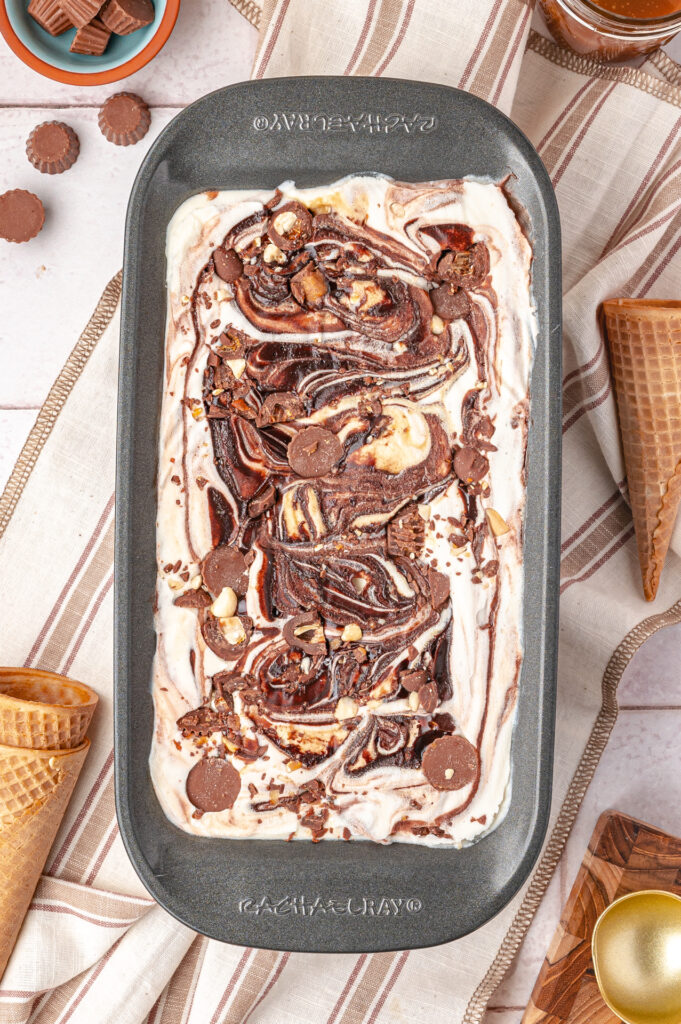
Peanut Butter Cup Ice Cream No-Churn
A simple homemade treat, filled with swirls of peanut butter, chocolate, and love.
From my kitchen to yours — may it bring sweet memories to your table.

Peanut Butter Cup Ice Cream No-Churn
Equipment
- 1 Mixing bowl
- 1 Whisk or hand mixer
- 1 9×5-inch loaf pan or another freezer-safe dish
- 1 Plastic wrap or parchment paper (for covering the pan)
Ingredients
- 2 cups heavy whipping cream
- 1 can sweetened condensed milk (14oz)
- 2 tsp vanilla extract
Mix-Ins:
- ¾ cups chocolate-covered peanuts
- ¾ cups mini peanut butter cups or chopped peanut butter cups
For the Swirls
- ½ cup fudge sauce, divided
- ½ cup caramel sauce, divided
Instructions
- Break up some of the chocolate-covered peanuts into smaller pieces, leaving some whole for texture variety. If using large peanut butter cups, chop them into smaller chunks.
- Pour heavy whipping cream into a large mixing bowl. Use an electric mixer to whip the cream on medium-high speed until stiff peaks form, about 3-5 minutes. Be careful not to over-whip the cream into butter.
- Pour the sweetened condensed milk and the vanilla extract directly into the whipped cream.
- Gently fold everything together using a spatula until fully incorporated.
- Reserve a handful of chocolate-covered peanuts and peanut butter cups for the topping. Fold the remaining chocolate-covered peanuts (both whole and broken pieces) and peanut butter cups into the ice cream base.
- Pour half of the mixture into a 9×5 inch loaf pan or another freezer-safe container
- Drizzle 1/4 cup of fudge sauce and 1/4 cup of caramel sauce evenly over this layer. Use a butter knife or skewer to gently swirl the sauces into the ice cream.
- Pour the remaining ice cream mixture on top. Drizzle the final 1/4 cup of fudge sauce and 1/4 cup of caramel sauce over the top layer. Swirl the sauces to create a marbled effect.
- Sprinkle the reserved chocolate-covered peanuts and peanut butter cups over the top layer.
- Cover the pan tightly with plastic wrap. Place it in the freezer for at least 6 hours, preferably overnight, until the ice cream is firm. Serve in bowls or ice cream cones.
Notes
- Peanut Butter: Use smooth peanut butter for the creamiest texture. Crunchy peanut butter can be used if you prefer added texture.
- Peanut Butter Cups: Chop the peanut butter cups into small pieces to ensure an even distribution throughout the ice cream.
- Sweetened Condensed Milk: This is key to achieving the creamy, no-churn texture. Avoid substitutions for best results.
- Freezing Time: The ice cream needs at least 6 hours to freeze fully, but overnight is ideal for a firm, scoopable consistency.
- Storage: Store in an airtight container in the freezer for up to 2 weeks. For best texture, let it sit for a few minutes at room temperature before scooping.
- Variations: Feel free to add extra mix-ins like chocolate chips, swirls of caramel, or a dash of vanilla extract to customize the flavor to your liking!